

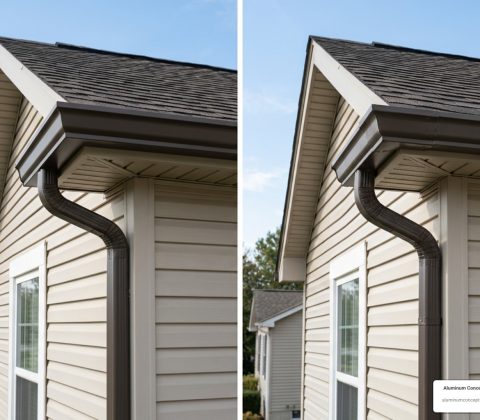
A Practical Guide to Comparing Gutter Installation Options
Comparing Seamless vs. Sectional Gutter Options
When planning a gutter installation, choosing the right system style and material is the single most critical decision you will make for your home’s exterior defense. Residential water management comes down to two primary system designs: continuous seamless gutters and multi-piece sectional gutters.
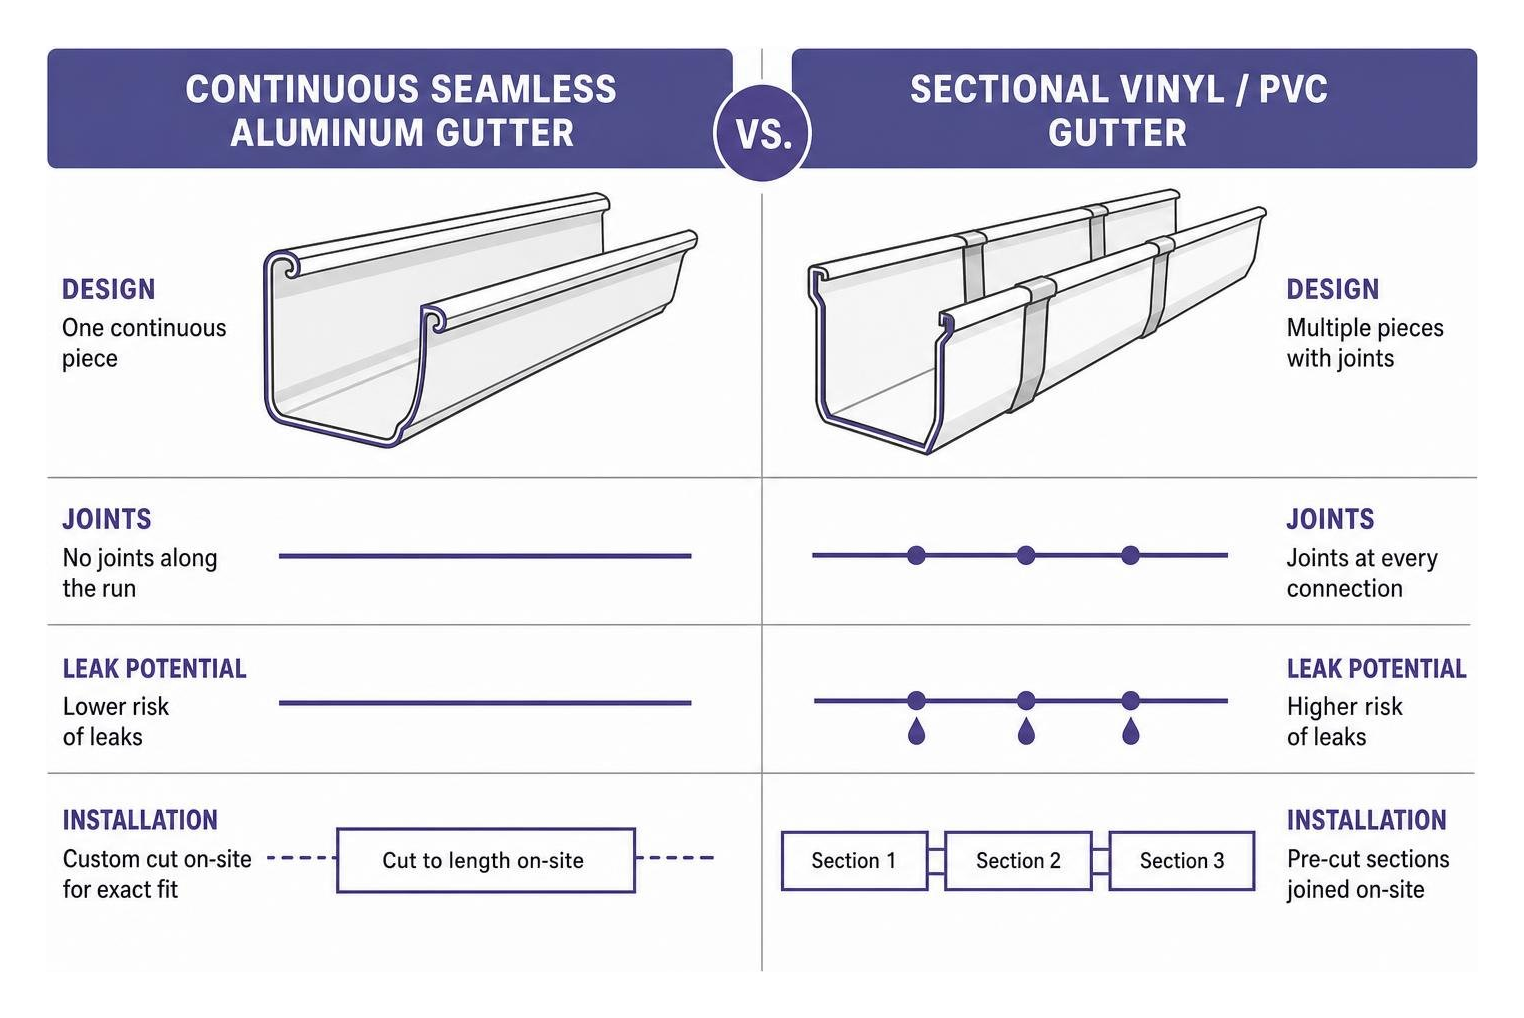
While vinyl, steel, and copper are available on the market, aluminum gutters serve as the primary industry standard. Category: Aluminum Construction projects rely heavily on aluminum because it is lightweight, naturally rust-proof, and easily painted to match your home’s trim. Tag: Aluminum Construction hardware resists heavy moisture without deteriorating.
| Feature / Metric | Continuous Seamless Aluminum | Sectional Vinyl / PVC | Premium Copper |
|---|---|---|---|
| Average Lifespan | 20 to 30 Years | 5 to 10 Years | 50 to 100+ Years |
| Material Cost (per foot) | $6 – $15 | $3 – $6 | $35 – $60+ |
| Leak Resistance | High (Seams only at corners) | Low (Seams every 10 feet) | High (Soldered joints) |
| Installation Type | Professional On-Site Fabrication | DIY Friendly (Snap-Together) | Professional Custom Solder |
| Thermal Expansion Reliability | Excellent | Poor (Warps/cracks over time) | Excellent |
Sectional Troughs for DIY Projects
Sectional gutters are sold at retail home improvement stores in pre-cut 10-foot or 20-foot pieces. These systems rely on snap-together connectors or drop outlet seamers sealed with gutter caulk.
While sectional vinyl or aluminum troughs fit inside standard vehicle beds and appeal to budget-conscious homeowners, every joint creates a potential failure point. Because materials naturally expand and contract with daily temperature shifts, sealant inside sectional joint overlaps often degrades within 24 months.
Vinyl (PVC) troughs suffer accelerated UV degradation under constant sunlight. The plastic turns brittle, sags between hangers, and warps. For these reasons, vinyl sectional gutters are generally not recommended for permanent primary residences. DIY sectional materials cost between $200 and $500 for a standard project, but their limited 5 to 10 year lifespan usually leads to higher replacement costs over time.
Custom Seamless Troughs for Long-Term Protection
Continuous seamless gutters eliminate seam leaks along straight eave runs. Instead of piecing short tracks together, a specialized roll-forming machine extrudes heavy .027-gauge aluminum directly on-site to match the exact measurement of your roofline.
Because seams are restricted to corners (miters) and downspout outlets, maintenance is reduced significantly. Rather than relying on mass-produced prefabricated plastic box miters, professional installers cut corner miters by hand and apply heavy-duty marine-grade sealant. This provides a clean fit that accommodates thermal movement without leaking.
In warm coastal climates like Fort Myers, choosing the proper profile volume is vital. Standard 5-inch K-style gutters hold plenty of water for normal rainfall, but 6-inch oversized aluminum troughs paired with 3×4-inch downspouts increase water capacity by roughly 40%. This extra size prevents overflow during sudden, heavy downpours.
DIY vs. Professional Gutter Installation
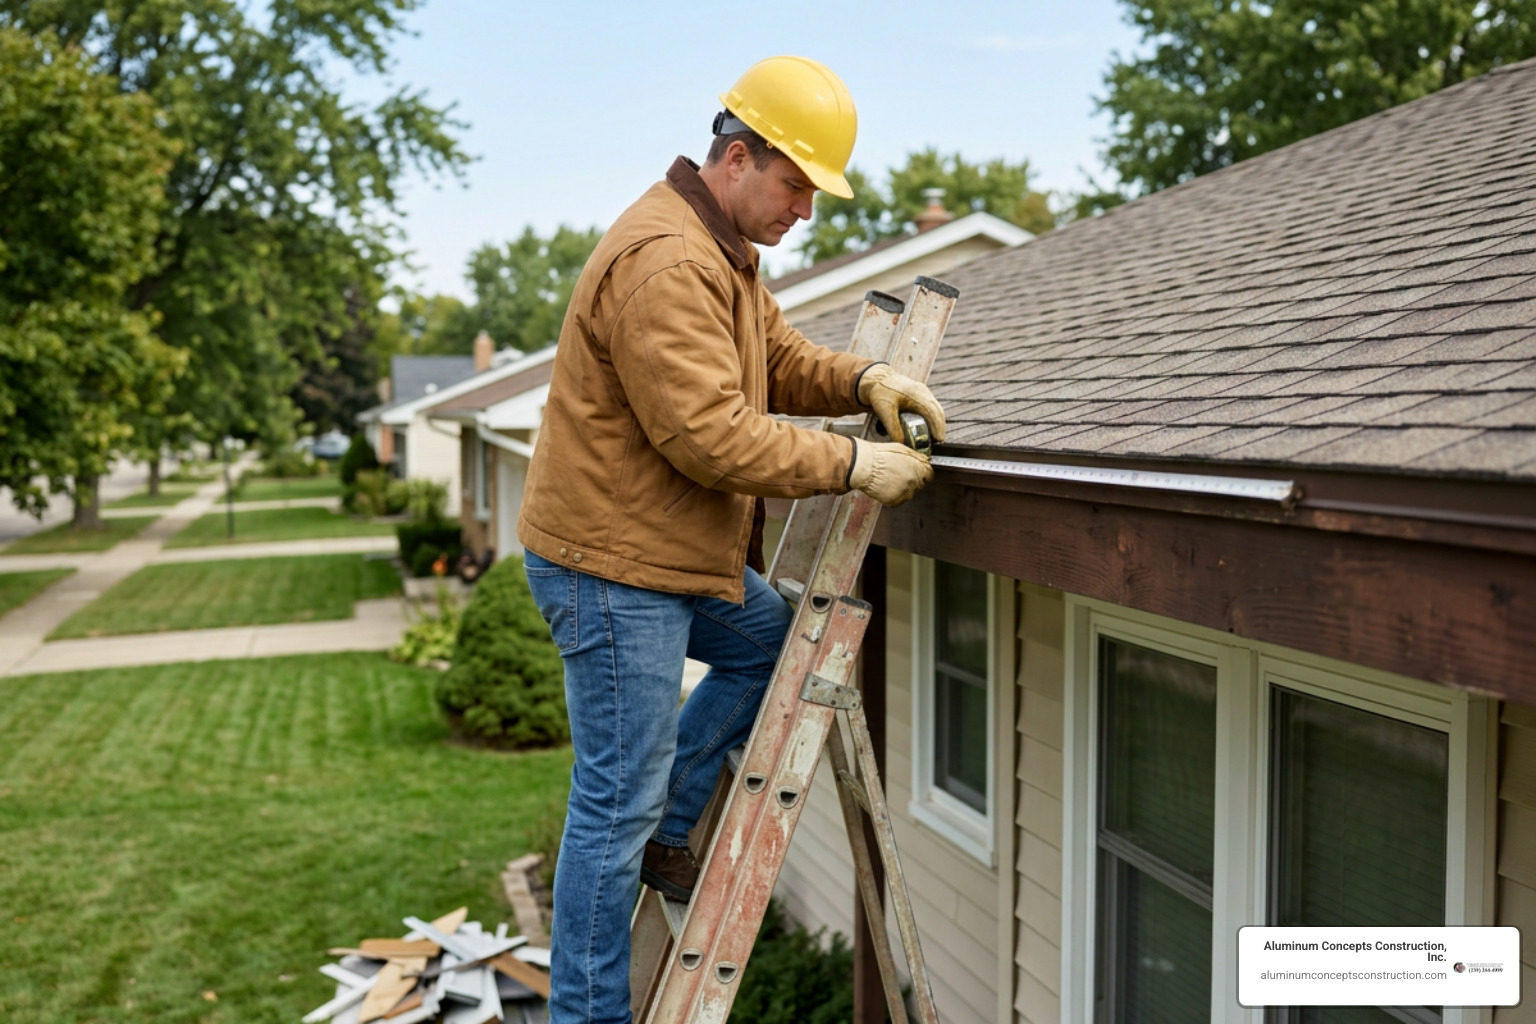
Deciding between tackling a gutter installation yourself or hiring a specialist comes down to balancing material costs against height safety, labor time, and custom fabrication equipment.

A self-installed sectional job usually costs between $200 and $500 in retail hardware. By contrast, professional installation typically ranges from $8 to $15 per linear foot, with overall project costs for a standard home falling between $1,200 and $3,500 depending on home height and linear footage. The price gap exists because professionals supply custom continuous aluminum extrusions, commercial structural hidden hangers, ladder safety rigs, and long-term labor warranties.
Before committing to a weekend project, be sure to hire a licensed contractor for all of your aluminum construction needs if your roofline is two stories high or features complex hips, valleys, and custom patio returns.
Measuring, Slope Calculation, and Layout Planning
If you decide to handle a simple single-story installation, precise planning is essential. Proper drainage requires pitched troughs so water flows smoothly toward the outlets instead of standing in place.
- Measure Eave Lengths: Measure each horizontal fascia run and sketch out your roofline layout on paper. Add an extra inch at end points to ensure full overhang coverage.
- Calculate Pitch: Gutters must slope 1/4 inch for every 10 feet of run toward the downspouts.
- Establish High and Low Points: Snap a tight chalk line along the fascia board to establish your slope line. Start the high end approximately 1¼ inches below the roof drip edge flashing.
- Determine Downspout Outlets: Plan for one downspout every 30 to 40 feet. On runs longer than 40 feet, slope the trough downward from the center point toward downspout outlets at both ends.
- Locate Support Rafters: Mark the rafter tail locations behind the fascia board so your mounting screws anchor directly into solid framing timber.
Safety Precautions During Gutter Installation
Working at heights requires clear ladder setup procedures:
- Use Stand-Off Brackets: Attach a ladder stabilizer (stand-off) to the top of your extension ladder so it rests securely on the roof deck or wall rather than crushing delicate aluminum gutters.
- Set Up on Stable Footing: Never rest ladder feet on soft garden mulch, mud, or unlevel dirt. Use wide, wooden leveling pads beneath the feet to ensure stability.
- Maintain Three Points of Contact: Always keep two hands and one foot (or two feet and one hand) on the ladder rungs while climbing and positioning components.
- Check Overhead Utilities: Inspect electrical service drop lines to maintain safe clearance from conductive metal extension ladders and aluminum gutter runs.
- Work with a Partner: Never attempt to lift long metal sections up a ladder alone. Always work in pairs to hoist materials and steady the ladder setup.
Step-by-Step System Assembly, Mounting, and Maintenance
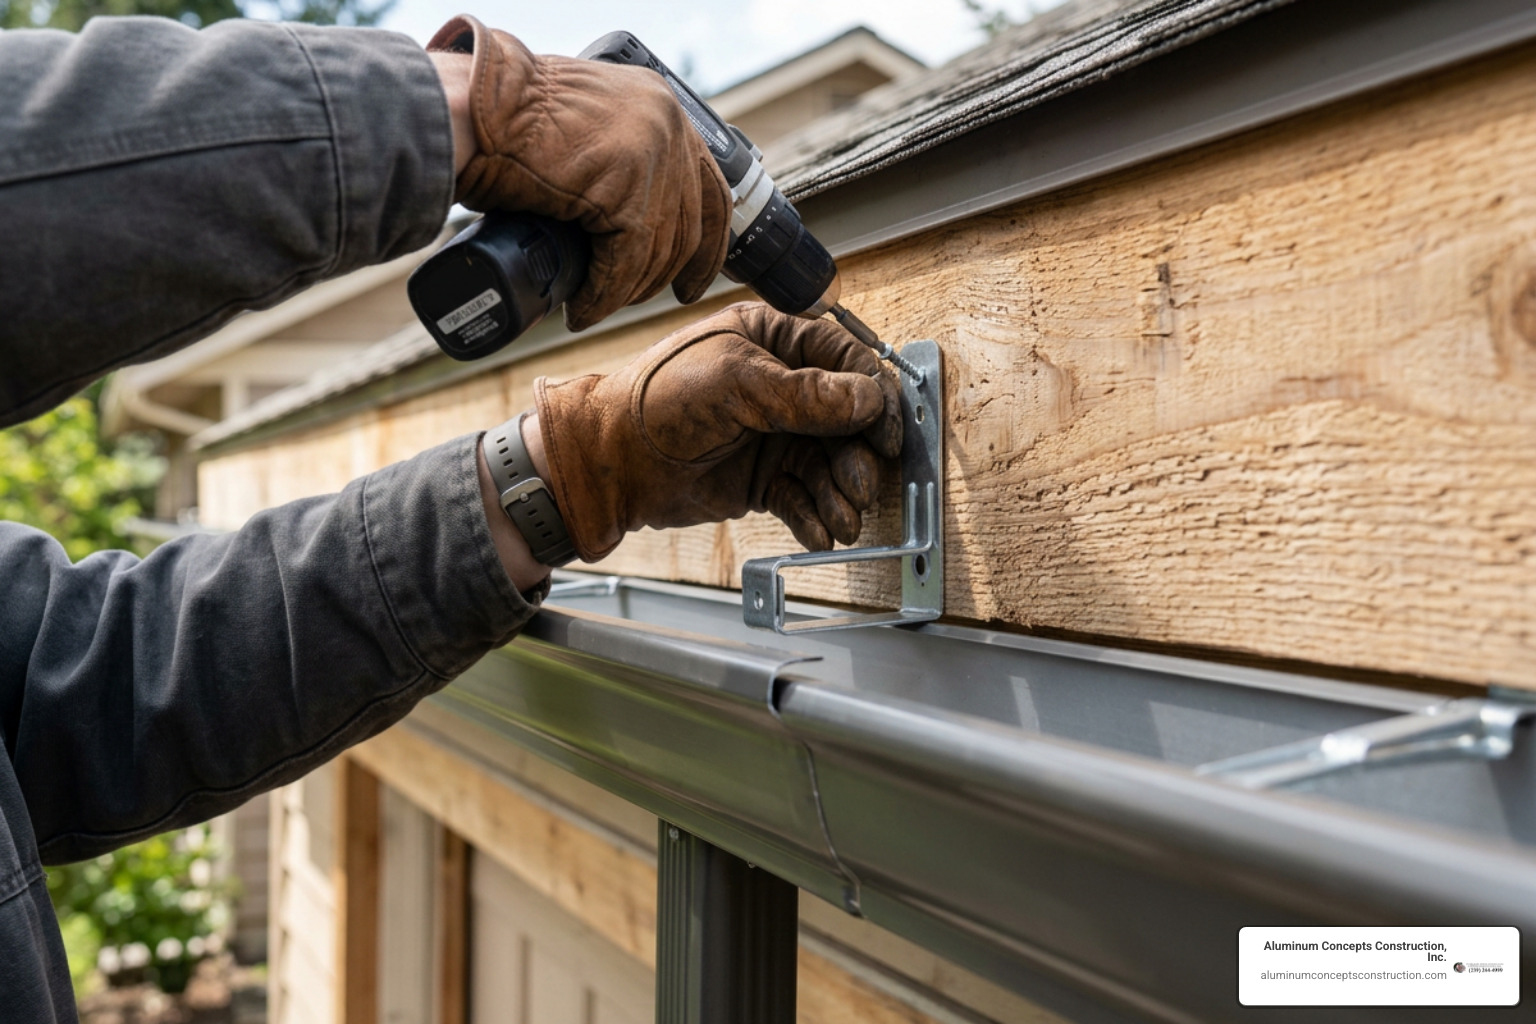
Putting together a reliable drainage system requires the proper hand tools and hardware:
- Cordless drill/driver with hex-head nut bits
- Fine-tooth hacksaw, carbide-blade miter saw, or offset tin snips
- Hole saw bit (4-inch) or drill with cold chisel
- Pop rivet gun or self-tapping sheet metal screws
- Heavy-duty waterproof gutter sealant
- Chalk line, tape measure, and 4-foot level
Reviewing practical guides like How to Install Gutters Yourself will help you organize your steps before starting ground assembly.
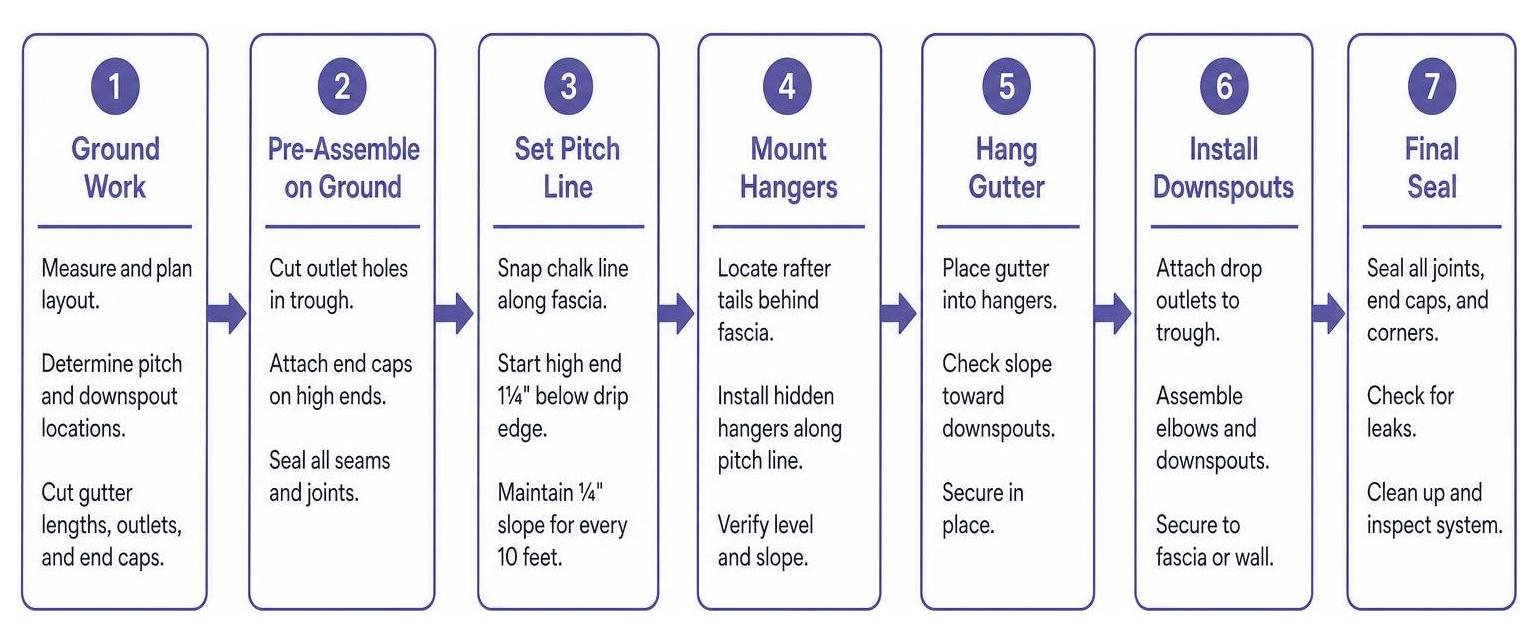
Step-by-Step Gutter Installation Instructions
Step 1: Pre-Assemble Components on the Ground
It is much safer to complete prep work on a flat workbench before climbing a ladder. Lay out your cut gutter lengths, trace your 4-inch downspout drop outlets onto the underside of the trough, and cut the outlet holes using a hole saw bit or tin snips. Fasten end caps onto the high ends of the troughs using pop rivets or sheet metal screws, then seal all inside seams thoroughly with waterproof sealant.
Step 2: Tuck Troughs Under Roof Flashing
Lift the pre-assembled gutter run into position along your snapped chalk line. Tuck the back edge of the gutter trough underneath the shingle drip edge or install a aluminum gutter apron. This prevents runoff water from running behind the metal track and rotting your wooden soffit fascia boards.
Step 3: Fasten Hidden Hangers
Secure the trough using heavy-duty hidden hangers equipped with pre-loaded stainless steel screws. Space hidden hangers every 18 to 24 inches along the inside of the gutter trough. Drives the long mounting screws straight through the fascia board directly into the structural rafter tails for maximum load capacity.
Step 4: Lap Joint Seams and Miters
When joining two sectional lengths together on the roof, overlap the metal sections by 4 inches in the direction of water flow so moving water glides across the top of the seam rather than pushing against an exposed lip. Fasten the joint with sheet metal screws and apply a continuous bead of gutter sealant across all internal seams.
Downspout Positioning and Foundation Protection
Gutters collect water, but downspouts remove it safely from your house perimeter.

- Attach Drop Outlets: Connect the top downspout elbow to the drop outlet cut into the bottom of your trough.
- Build S-Connector Arms: Use two flexible metal elbows joined together to create an S-curve that routes water from the wide roof eave overhang back flat against the exterior wall surface.
- Mount Vertical Downspout Pipes: Slide standard 2×3-inch or oversized 3×4-inch downspout pipes into the top elbow. Fasten the vertical downspouts directly to exterior masonry or wood siding using U-shaped wall bands spaced every 5 feet.
- Install Soil Discharge Extensions: Secure a bottom elbow at ground level roughly 12 inches above the terrain. Connect a hinged extension, splash block, or underground drainage pipe to send discharging water 5 to 10 feet away from the foundation line.
Unchecked water falling near building perimeters creates hydrostatic soil pressure that can crack concrete foundations and cause wall dampness. Directing volume away from your footings is the single best way to protect your structural foundation.
Gutter Guard Integration and Long-Term Maintenance
Installing micro-mesh leaf protection keeps your drainage tracks working smoothly year-round. Stainless steel micro-mesh guards prevent leaves, seeds, and pine needles from choking your downspout openings.

When fitting guards, tailor your securing method to your roof slope:
- Mild Roof Pitches (5°–25°): Slide the back rail of the guard under the lower shingle course, then secure the front lip to the outer gutter bead using high-bond 3M adhesive foam tape or self-tapping sheet metal screws.
- Steep Roof Pitches or Metal/Tile Roofs: If shingles are glued tightly to underlayment or you have tile roofing, do not force the guard beneath the roof material. Instead, bend the guard’s rear mesh flange downward and fasten it directly to the inner fascia or gutter wall using self-tapping screws.
- Preventing Water Overshoot: Ensure the central mesh trough sits at least 1/8 inch below the top lip of the gutter trough. This geometry breaks the surface tension of fast-moving rainwater during heavy storms, stopping water from splashing straight over the front edge.
For technical mounting specs, consult the manufacturer’s Micro-Mesh Gutter Guard Installation Guide.
Even with top-tier guards installed, regular maintenance is still important. Schedule routine inspections and maintenance at least twice a year—ideally in late spring and late fall. Inspect end cap seals for tiny pinhole leaks, clear stray roof debris from valley splash guards, and flush downspout elbows with a garden hose to verify full flow.
Frequently Asked Questions about Gutter Systems
What is the proper slope and hanger spacing for rain gutters?
Gutters require a minimum downward pitch of 1/4 inch for every 10 feet of horizontal run directed toward your downspout locations. Hidden hangers should be spaced 18 to 24 inches apart along the length of the trough. For high-volume environments or areas prone to heavy wind loads, tighten hanger spacing down to 18 inches and ensure all mounting hardware anchors into structural rafter tails behind the fascia.
How many downspouts are required for a standard residential roofline?
As a general rule, plan for one downspout for every 30 to 40 feet of continuous gutter line. If a straight fascia run exceeds 40 feet, slope the trough downward from the high center point to low downspout locations on both outer corners. Homes in regions with heavy downpours benefit from upgrading from standard 2×3-inch downspouts to oversized 3×4-inch commercial assemblies.
Can homeowners install seamless gutters as a DIY project?
No, true continuous seamless gutters cannot be installed as a standard DIY kit. They require heavy industrial roll-forming machinery mounted inside a commercial box truck to shape seamless aluminum coil to your home’s exact dimensions on-site. Homeowners doing DIY projects are limited to buying pre-cut 10-foot or 20-foot sectional pieces from local retail home centers.
Protect Your Foundation with Professional Installation
A well-designed drainage system is your home’s first line of defense against foundation damage, landscape erosion, and rotting fascia. While pre-cut sectional vinyl kits provide an accessible short-term DIY option, continuous roll-formed aluminum gutters offer superior leak prevention, clean curb appeal, and decades of reliable weather protection.
If you are evaluating Fort Myers aluminum gutters for your property—whether in Fort Myers, North Fort Myers, Fort Myers Beach, Cape Coral, Bonita Springs, Sanibel, or Pine Island—our team brings nearly 25 years of specialized structural crafting experience to every project.
Explore our seamless gutters services to learn how custom-fit aluminum systems can protect your home season after season. Contact Aluminum Concepts Construction, Inc. today to schedule your on-site property evaluation!
Comments are Disabled